Customizing your presentations with your own visuals is a great way to make them more engaging and professional. With SlideSpeak, you can easily upload your own images, search for high-quality stock photos, or even generate unique visuals using AI. Follow this guide to learn how to add your own images to your slides.
Step 1: Open the Image Gallery
First, open the presentation you want to edit. In the bottom toolbar, you will find the Add Image icon (represented by a picture of a mountain). Click on this icon to open the image gallery dialog.

Step 2: Select the Upload Tab
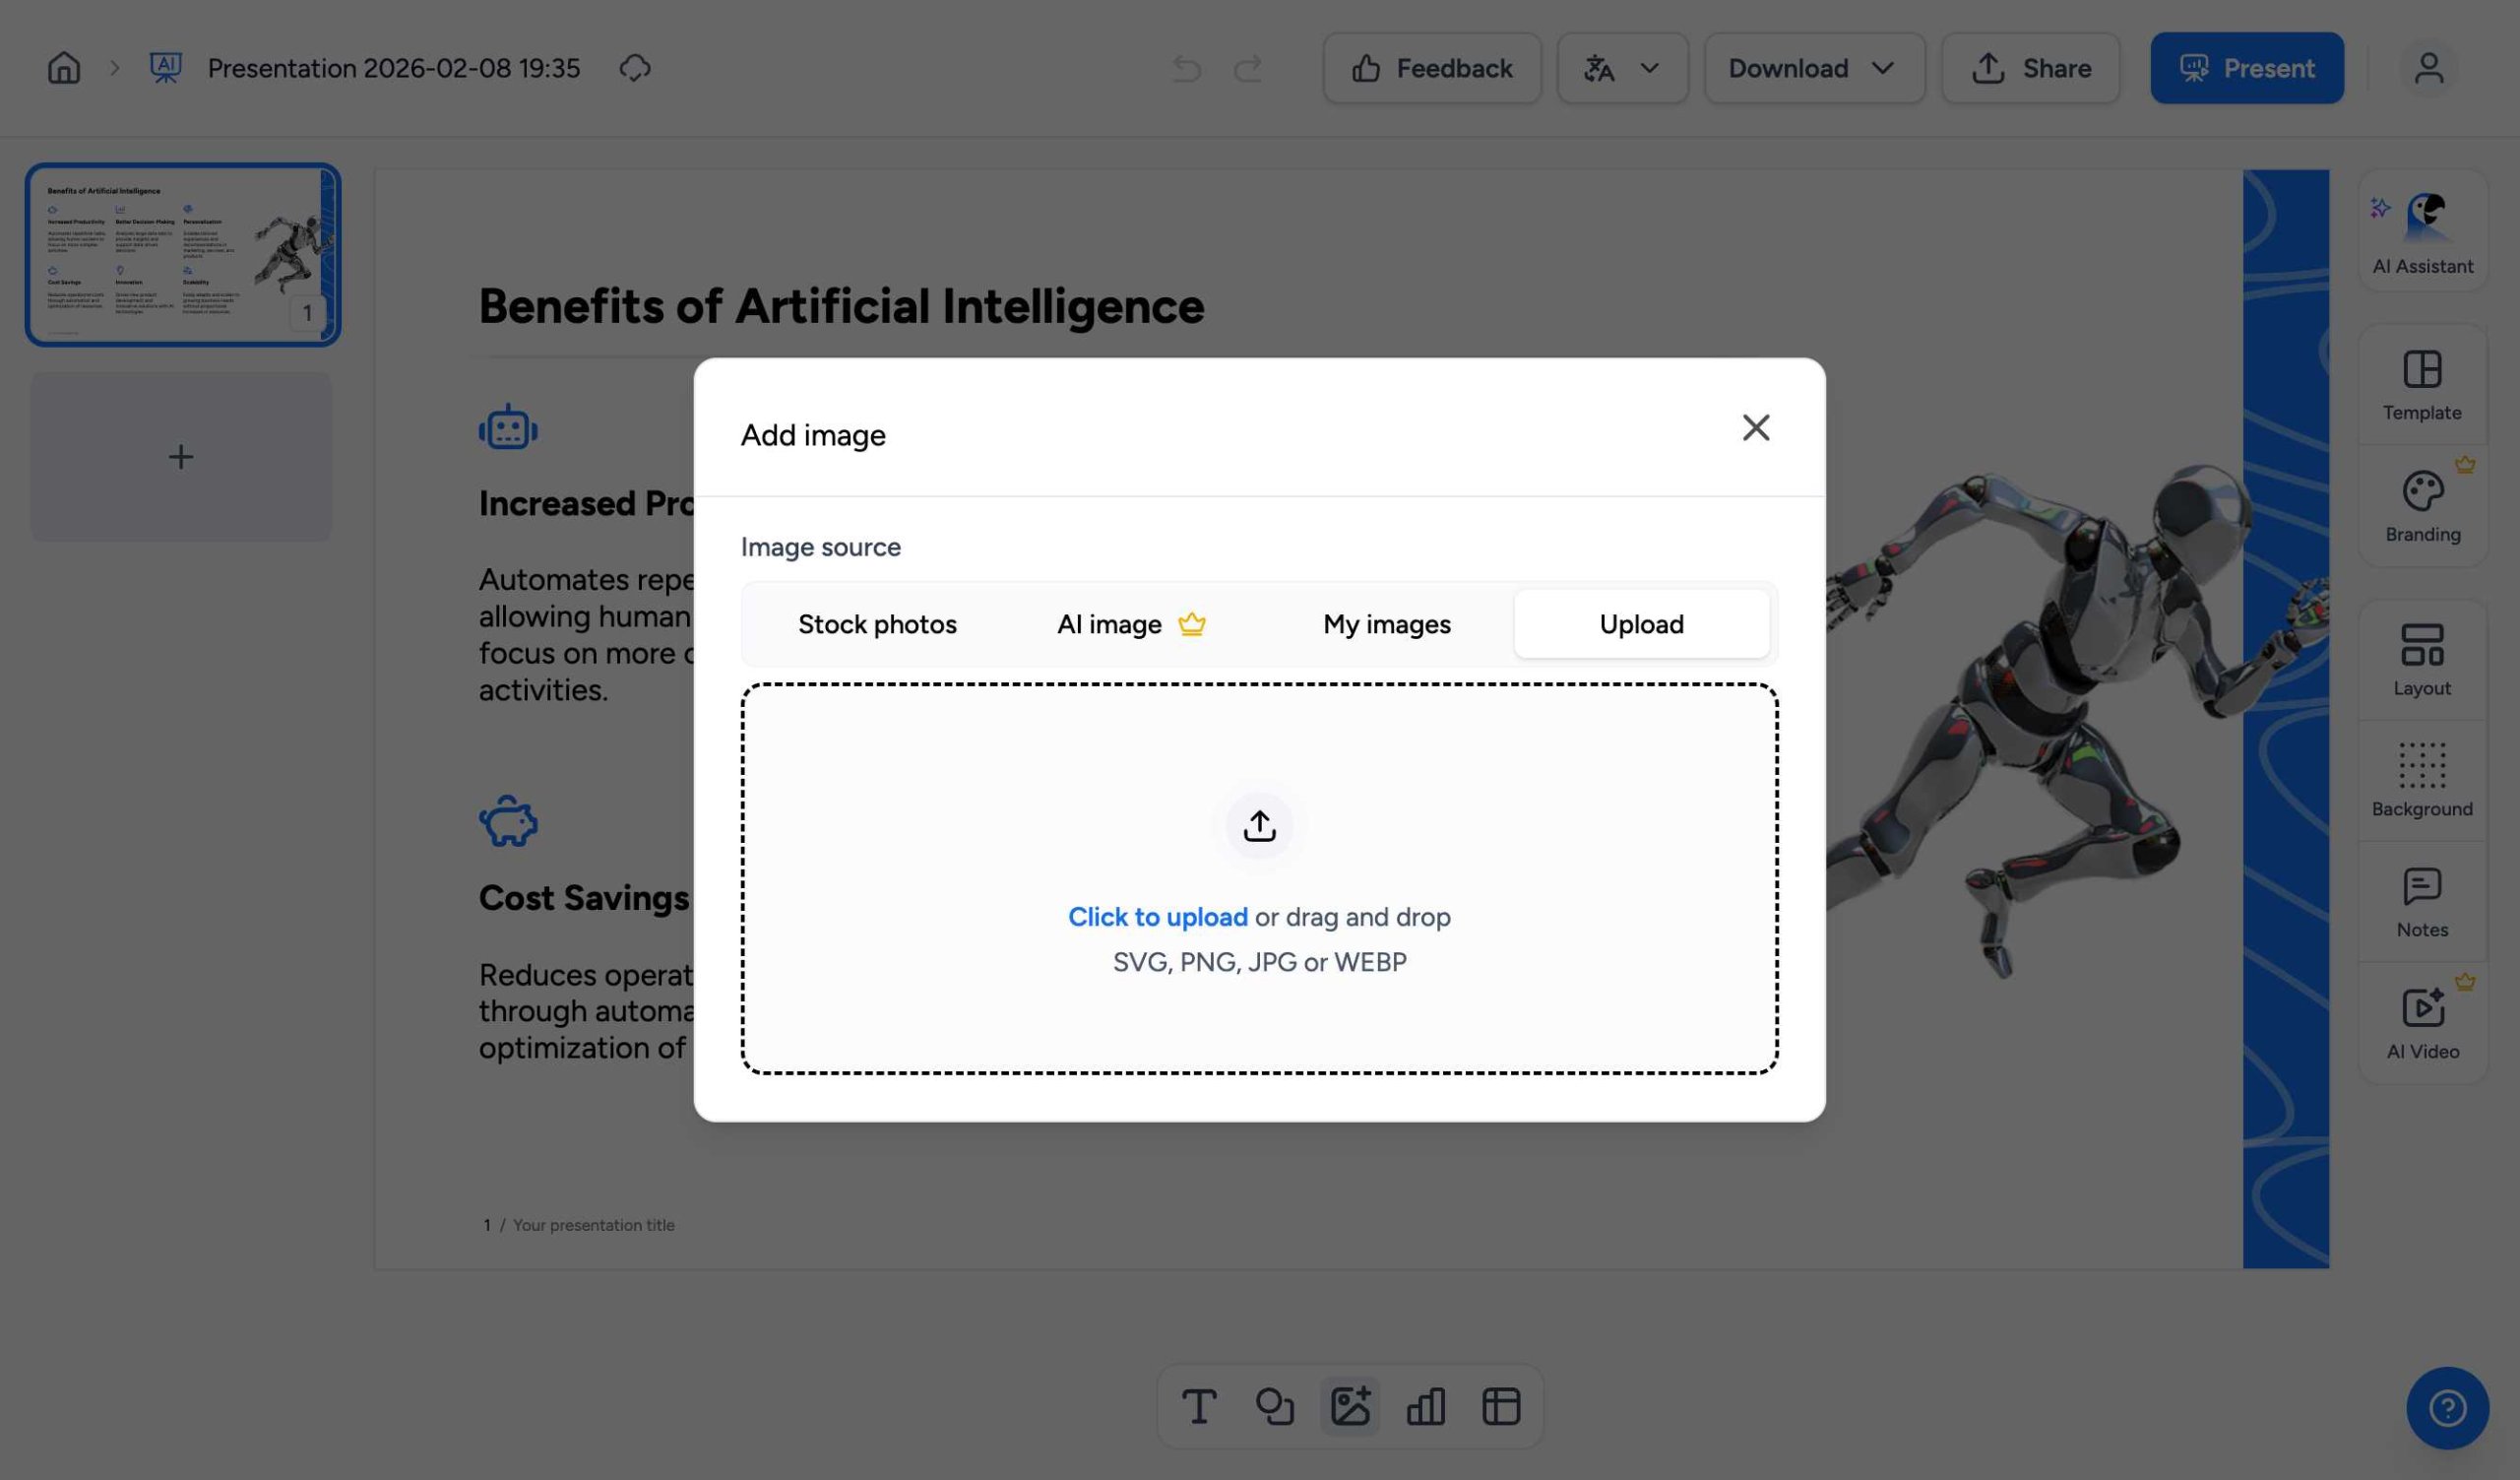
The “Add image” dialog will appear, offering several ways to source your visuals. To use your own files, select the Upload tab from the top menu.
Step 3: Upload Your Image File
Once you are on the Upload tab, you can add your image in two ways:
- Click to upload: Click anywhere in the upload area to open your computer’s file browser and select your image.
- Drag and Drop: Simply drag an image file from your computer and drop it directly onto the upload area.
SlideSpeak supports popular image formats including SVG, PNG, JPG, and WEBP.
Step 4: Position and Resize
After the upload is complete, your image will be automatically placed onto your current slide. You can then click and drag the image to reposition it, or use the corner handles to resize it to fit your layout perfectly.
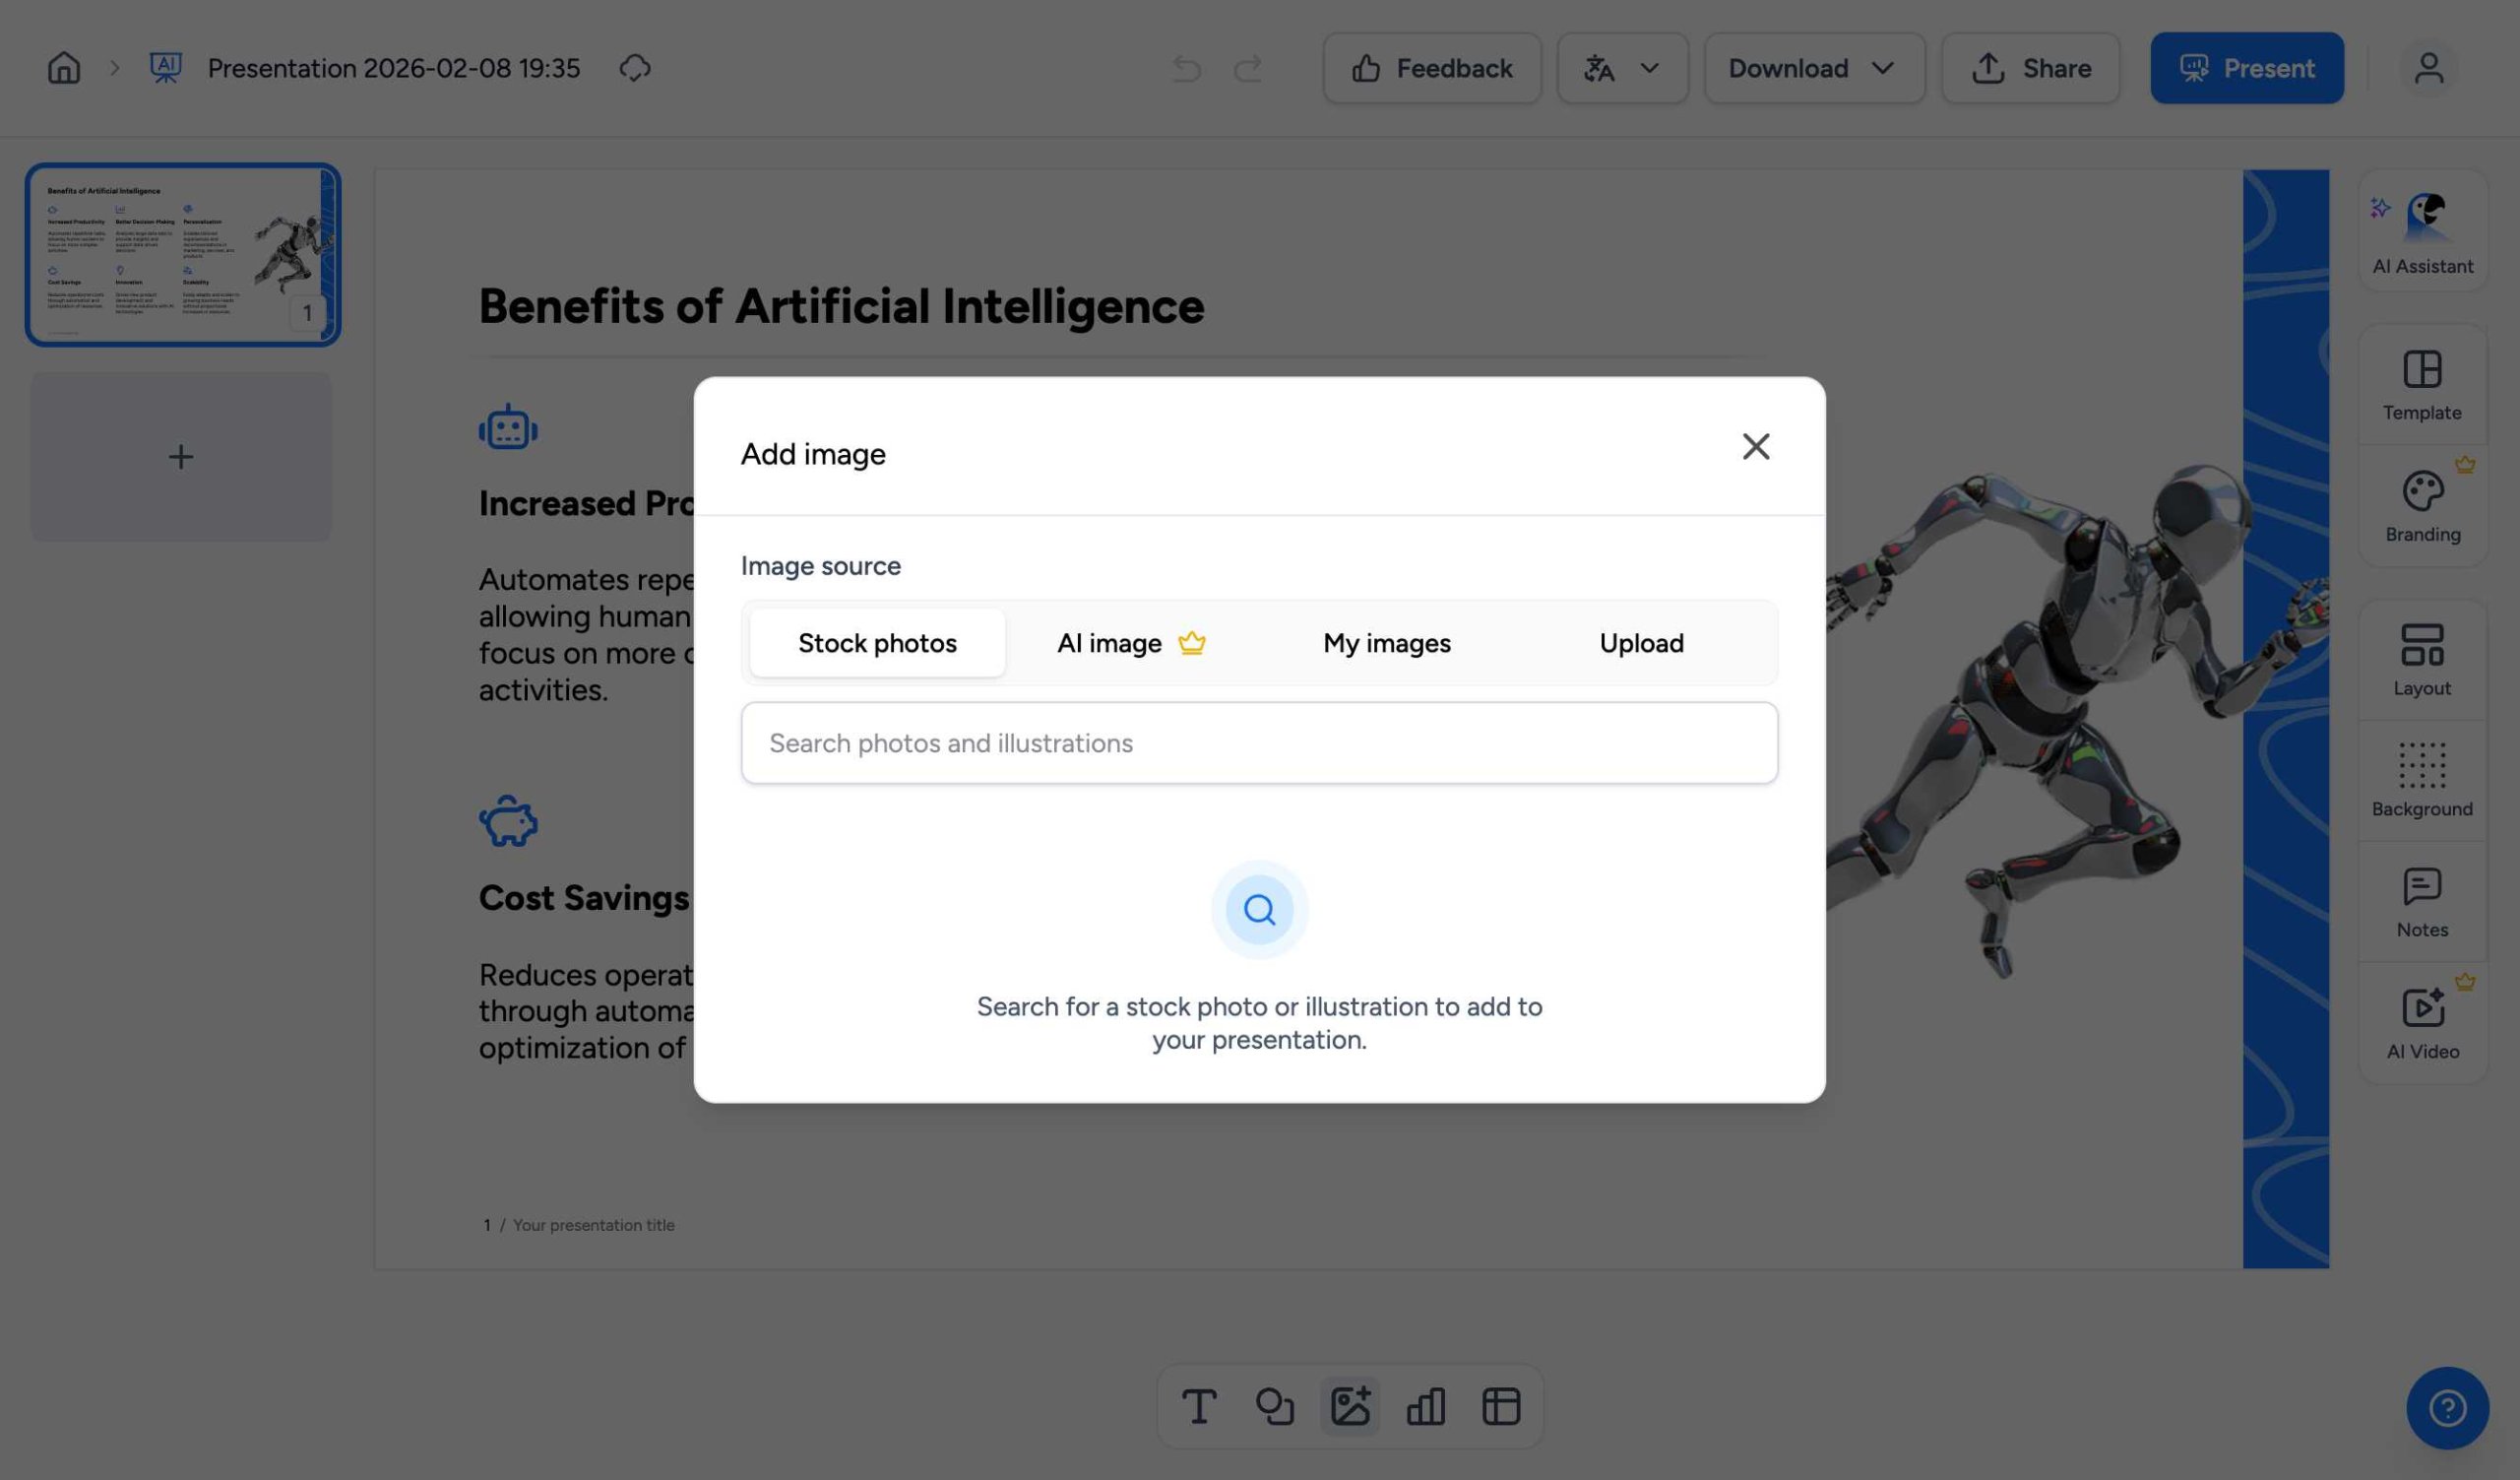
Other Image Sources
If you don’t have your own image ready, SlideSpeak also provides built-in options:
- Stock Photos: Search through millions of professional photos and illustrations.
- AI Image: Describe the image you need, and SlideSpeak’s AI will create it for you instantly.
- My Images: Quickly access any images you have previously uploaded to other presentations.
Need more help? If you have any trouble adding images, feel free to contact our support team at support@slidespeak.co
Need more help?
If you have any questions or need assistance, feel free to contact our support team at support@slidespeak.co